User Groups
- 01 Dec 2025
- 1 Minute to read
- Contributors

- Print
- DarkLight
- PDF
User Groups
- Updated on 01 Dec 2025
- 1 Minute to read
- Contributors
- Print
- DarkLight
- PDF
Article summary
Did you find this summary helpful?
Thank you for your feedback!
To access User Groups, go to Settings > System > User Groups.
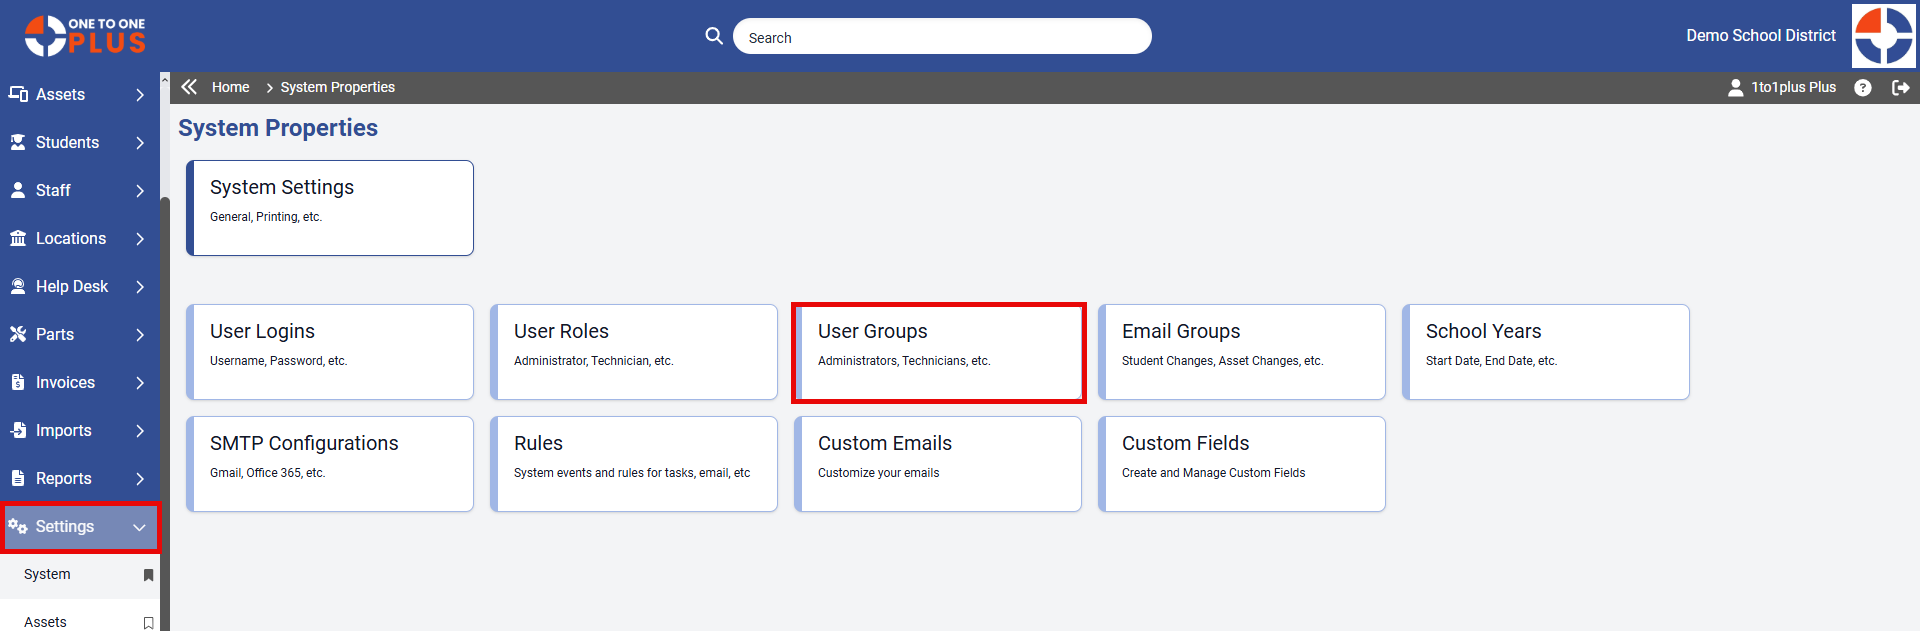
The User Groups screen is where you can view existing groups or add new ones. You can click the short name of the existing groups to bring them up.
To add a new User Group, just click the ![]() button in the top right.
button in the top right.

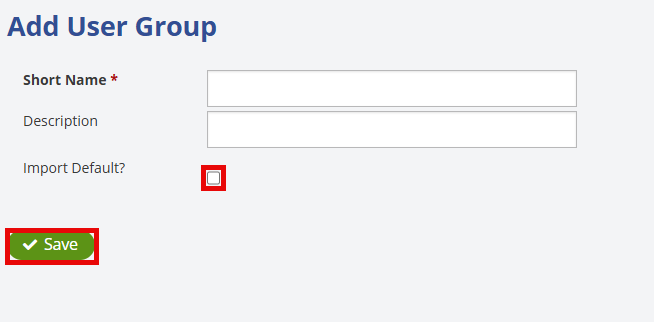
Type the Short Name, which is a required field and what will show up in the system when choosing user groups, and you can add a Description if you want to.
The Import Default? option is used for determining which User Group a staff member is assigned to when doing Staff Imports. The Import Default will show a YES on the User Groups screen to identify which user group is set to default. Only one User Group can be selected as the Import Default at one time. If you try to choose more than one user group as the default you will get this message:

After adding the necessary information for the new User Group, click ![]() to ensure the user group is added.
to ensure the user group is added.
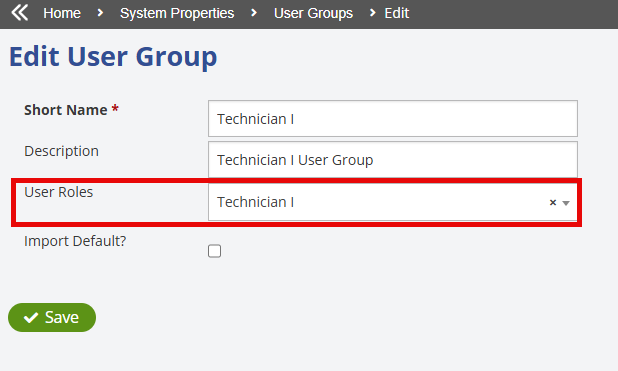
After adding the User Group, select it from the list on the Manage screen. You will see a field labeled User Roles. Choose the role that includes the security privileges you want this user group to have. Once selected, click ![]() to apply your changes.
to apply your changes.
Was this article helpful?