Turning in an Asset using a Barcode Template
- 20 Oct 2025
- 2 Minutes to read
- Contributors


- Print
- DarkLight
- PDF
Turning in an Asset using a Barcode Template
- Updated on 20 Oct 2025
- 2 Minutes to read
- Contributors
- Print
- DarkLight
- PDF
Article summary
Did you find this summary helpful?
Thank you for your feedback!
The Turn In screen is used to return assets previously assigned to staff or students. It is optimized for use with barcode scanners to streamline the process and minimize manual input.
Barcode Templates are designed to help users quickly scan and process turn-ins without needing to switch between the scanner and the mouse. These templates include barcodes that let you specify how the asset is being turned in—either using both the Held By and Assigned To fields, or just the Held By field.
When you scan a barcode from the template, it should automatically move (or "tab") to the next field. If your scanner does not automatically tab, you can scan the included Tab barcode to do so. Once you've scanned the appropriate action barcode (e.g., Held By and Assigned To), the system will automatically submit the turn-in—eliminating the need to click the Submit button manually.
Note: For best results, print Barcode Templates using a laser printer.
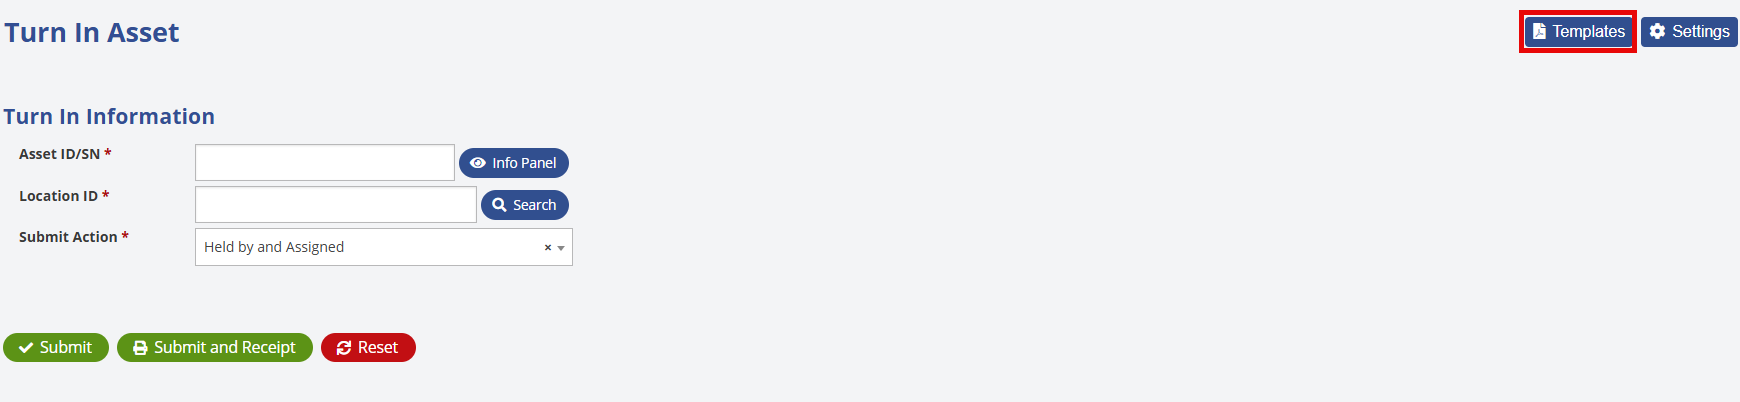
To access the templates, click the Templates button in the upper-right corner of the Turn In screen.
Barcode Templates help the user be able to scan and turn in assets in a timely fashion without having to take your hand off to use the mouse. You can scan the barcodes on the template to determine if you are turning in assets using the Held By and Assigned to fields or just the Held By field only. When you scan a barcode it should automatically Tab to the next field, but if your scanner isn't automatically tabbing to the next field then you can scan the Tab barcode to do so. After scanning the desired behavior such as Held By and Assigned to barcode during the turn in process, it automatically Submits for you instead of you having to Submit manually by clicking it.
Note: A laser printer is ideal for printing Barcode Templates.
On the Turn In screen, click the Templates button in the upper right hand corner.
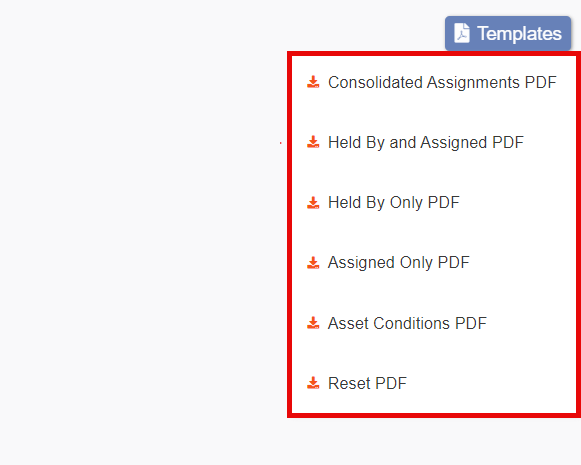
Templates will display a list of available barcode template options. In most cases, when turning in assets, you’ll want to select the Held By and Assigned PDF template—unless you intend to update the Held By field only.
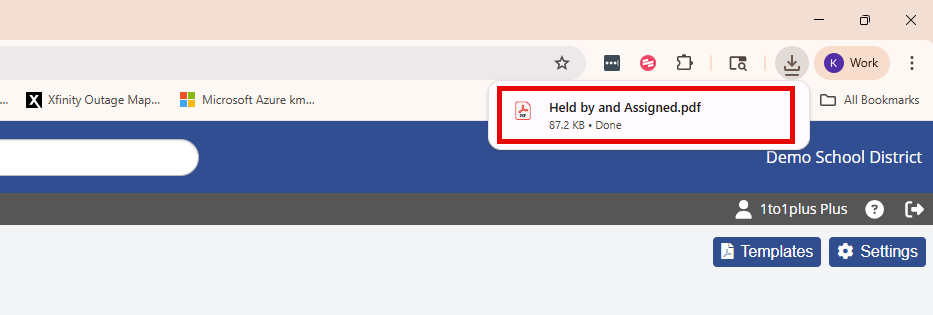
Once you click the desired template, it will download automatically and appear at the top of your screen. Open the file to view it, and from there, you can print the template as needed.
When using the Barcode Template to turn in assets, the process should follow this sequence:
Scan the Asset barcode
Scan the Location barcode
Scan the Held By and Assigned To barcode
Once you've scanned the Held By and Assigned to barcode it should automatically turn in the asset for you and you can move on to the next one.
Was this article helpful?