Quick Add Assets
- 20 Oct 2025
- 1 Minute to read
- Contributors


- Print
- DarkLight
- PDF
Quick Add Assets
- Updated on 20 Oct 2025
- 1 Minute to read
- Contributors
- Print
- DarkLight
- PDF
Article summary
Did you find this summary helpful?
Thank you for your feedback!
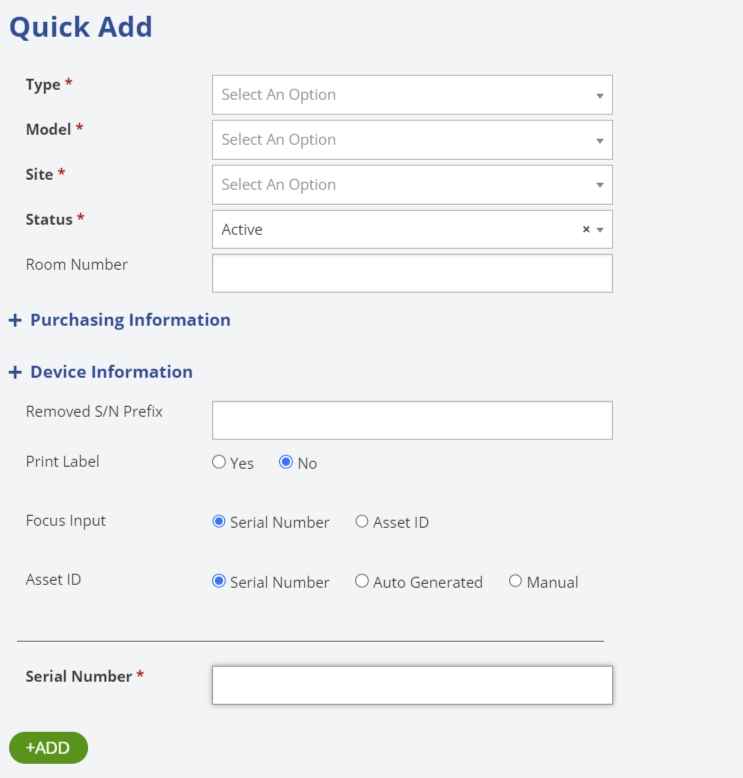
The Quick Add screen is designed for quickly adding one asset at a time into the system.
To begin, fill in all required fields, marked with an asterisk (*), as well as any optional fields you'd like to include, such as Room Number or Purchasing Information.
Type: Select the asset type from the dropdown.
Model: Select the model associated with the asset.
Site: Select the site where the asset will be located.
Status: Select the asset status. This typically defaults to Active.
Room Number: Enter the room number if applicable.
Purchasing Information: This section is optional. It allows the purchasing details to be added. Once the section is expanded, it will remain expanded during the quick add process.
Device Information: This section is optional. It allows the device details to be added. Once the section is expanded, it will remain expanded during the quick add process.
Removed S/N Prefix: Will remove the given string if a case sensitive match is found at the beginning of the submitted serial number. Example, if set to "S", "SX123" will become "X123".
Print Label: Select Yes if you want to print a label.
Focus Input: Specifies which field, Serial Number or Asset ID, that will initially receive input between adds.
Asset ID:
Serial Number- Asset ID will match the S/N.
Auto Generated- The software will auto generate an asset ID.
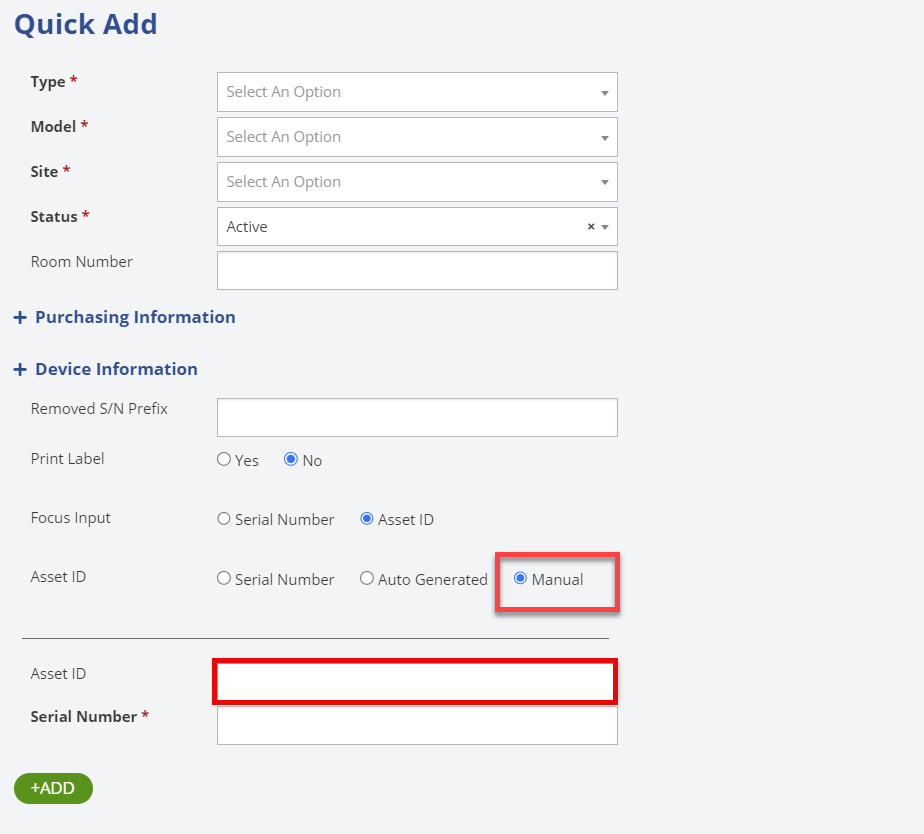
Manual- You manually set the Asset ID.
Serial Number: Manually enter the asset serial number.
When the Asset ID option is set to Manual, an Asset ID field will appear above the Serial Number, allowing you to manually enter the Asset ID.
After entering all the asset information, click the ![]() button to add the asset.
button to add the asset.
Was this article helpful?