Print Student Labels
- 21 Nov 2025
- 2 Minutes to read
- Contributors


- Print
- DarkLight
- PDF
Print Student Labels
- Updated on 21 Nov 2025
- 2 Minutes to read
- Contributors
- Print
- DarkLight
- PDF
Article summary
Did you find this summary helpful?
Thank you for your feedback!
NOTE: We recommend printing all barcode labels on a high quality laser printer for best readability.
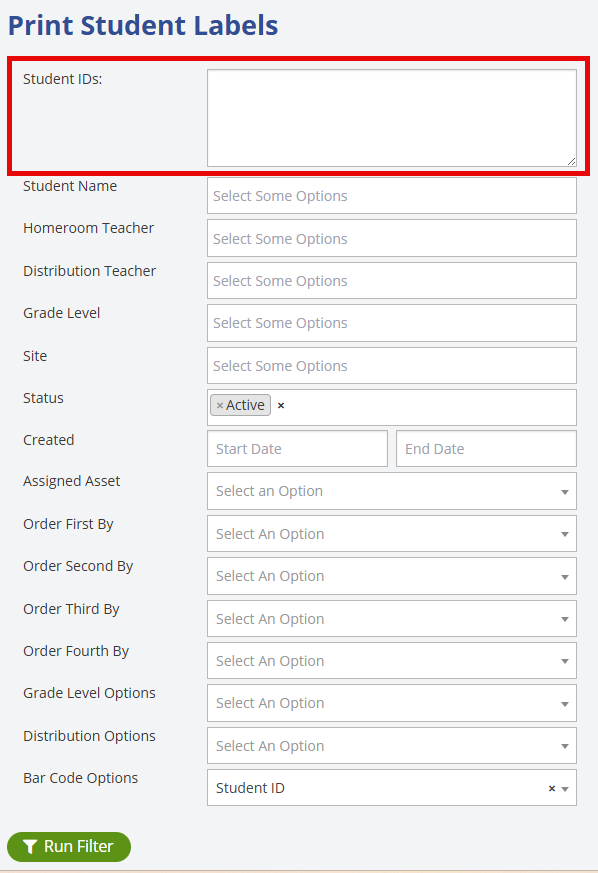
The Print Labels screen is where you can print student labels for any number of students within One to One Plus. You can choose the students to print labels for by either selecting the filters to get the students you want, such as grade level or site etc., or by inputting the individual student ID's in the box at the top of the page. Assuming you are printing labels for many students at once, if you are going to input the individual student ID's to print labels by then the most efficient way is to export the students you want from the Manage Student screen and then copy and paste the student ID's you're using into the Student ID's box. Any fields on this screen that start with the word "Order" such as Order First By are sorting fields that will determine what order the students will be in when they're printed.
The highlighted area below is the area where you will input the individual student ID's. Every other field below the highlighted field is how you can filter the students you want without using individual student ID's.
Once you have the students selected that you want to print labels for, click ![]() . You will now see a preview of the first 15 students in that data set to verify that the data looks correct.
. You will now see a preview of the first 15 students in that data set to verify that the data looks correct.
After running the filter, the Print Options section will populate on the right side of the screen with some different printing options to choose from.
Include: Here you can check the box to print the Barcode, Student ID and/or Middle Name on the labels.
Avery Template: Here you choose different template sizes that will vary in the number of labels you get per row. Typically the default 5160 template is the one you will use.
Number to Print: The number of labels that print per student.
Print Start Position: This enables you to prevent wasting labels for partially used sheets of labels. For example, if the first three labels have been printed, then the start position would be four. The numbering reads right to left, then up and down to determine the number to start with.
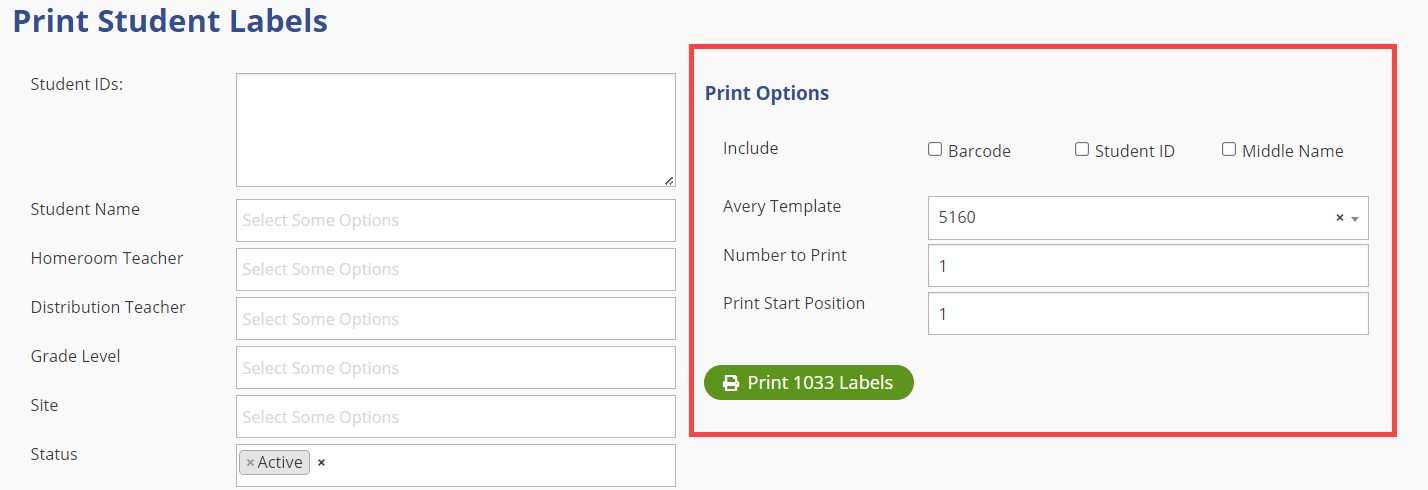
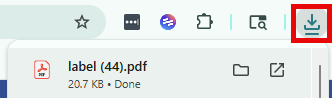
After deciding on what print options to use, click ![]() which also tells you how many labels will print. Once you click the button, it will download a PDF of the labels at the top of your screen. Just open that file and you can print the labels from there.
which also tells you how many labels will print. Once you click the button, it will download a PDF of the labels at the top of your screen. Just open that file and you can print the labels from there.
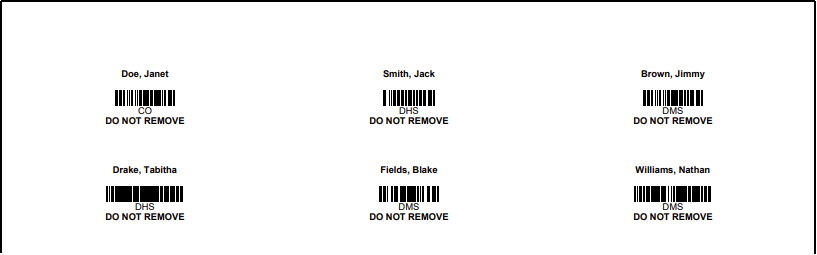
Here's what the labels should look like on the sheet when you print them. Ensure that the info printed for each label is correct.
Was this article helpful?