Print Asset Labels
- 20 Oct 2025
- 2 Minutes to read
- Contributors


- Print
- DarkLight
- PDF
Print Asset Labels
- Updated on 20 Oct 2025
- 2 Minutes to read
- Contributors
- Print
- DarkLight
- PDF
Article summary
Did you find this summary helpful?
Thank you for your feedback!
NOTE: We recommend printing all barcode labels on a high quality laser printer for best readability.
The Print Labels screen in One to One Plus allows you to print asset labels for any number of assets. You can choose which assets to include by either using filters—such as asset type, site, and other criteria—or by manually entering individual Asset IDs or Serial Numbers.
If you're printing labels for a specific group of assets (e.g., all assets of a certain type or assigned to a particular site), use the available filters to narrow down your selection. Alternatively, if you're printing labels for specific assets, enter their Asset IDs or Serial Numbers in the input fields located at the top of the screen.
For large batches of specific assets, the most efficient method is to first export the desired assets from the Asset Manage screen. Then, copy and paste either the Asset IDs or Serial Numbers—not both—into the corresponding field on the Print Labels screen.
Fields labeled with "Order," such as Order First By, are sorting options. These determine the sequence in which the labels will be printed.
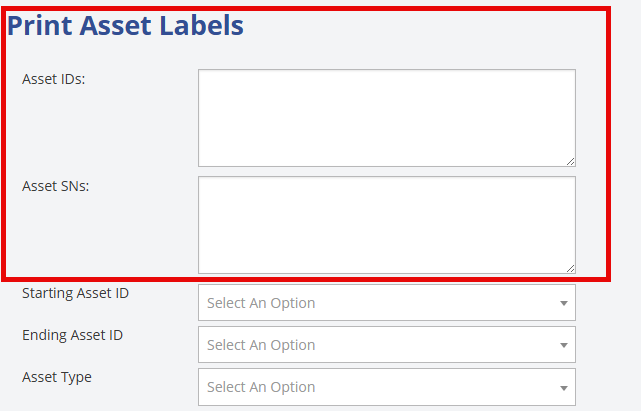
The highlighted area below is where you enter individual Asset IDs or Serial Numbers. All fields below this section can be used to filter assets without needing to enter IDs manually.
Once you’ve selected the assets you want to print labels for, click the Run Filter button. After clicking Run Filter, the system will display a preview of the first 15 assets from your selection, allowing you to verify that the data appears correct before proceeding with label printing.

After running the filter, the Print Options panel will appear on the right side of the screen. This panel provides several settings to help you configure your labels:
Include: Select which details to display on the label by checking the boxes for Site, Assignee, or Funding Source.
Bar Code: Choose whether the barcode will represent the Serial Number or Asset ID when scanned.
Avery Template: Select the label template that fits your needs. Typically the default 5160 template is the one you will use.
Number to Print: Specify how many labels should be printed for each asset.
Print Start Position: Set the starting position for label printing. This helps prevent wasted labels by allowing you to start printing on the next available space. For example, if the first three labels on a sheet have already been used, set the start position to 4 (label numbering runs left to right).
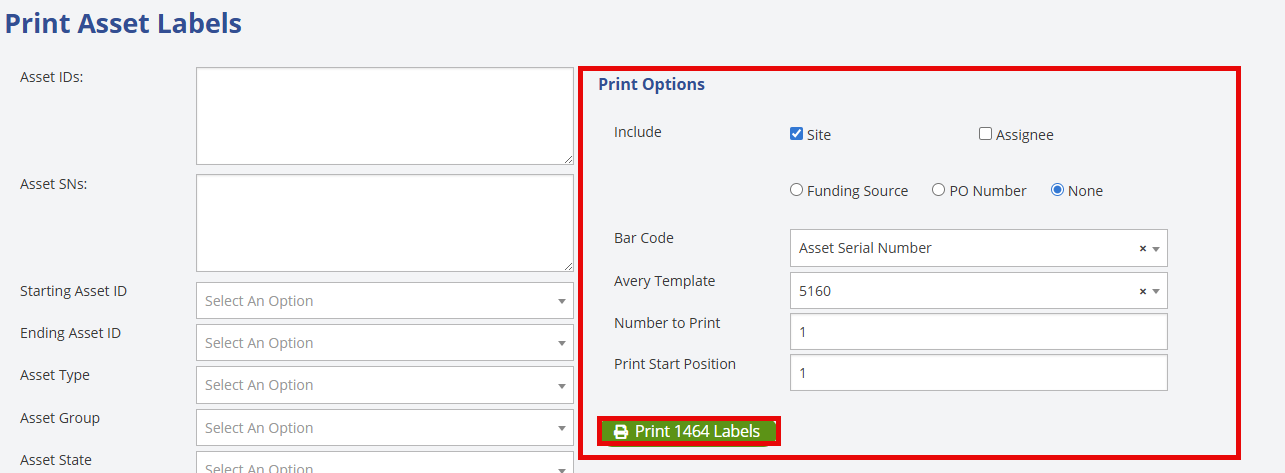
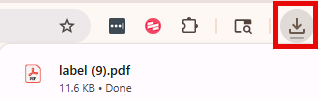
Once you've selected your desired print options, click the green Print Labels button. This button also displays the total number of labels that will be printed. After clicking it, a PDF file containing your labels will be generated and appear at the top of your screen. Simply open the file to review and print your labels.
Here’s an example of how the labels should appear on the sheet when printed. Make sure that the information on each label is accurate and that the barcode scans correctly, reflecting the identifier you selected—either the Asset ID or Serial Number.

Was this article helpful?