- Print
- DarkLight
- PDF
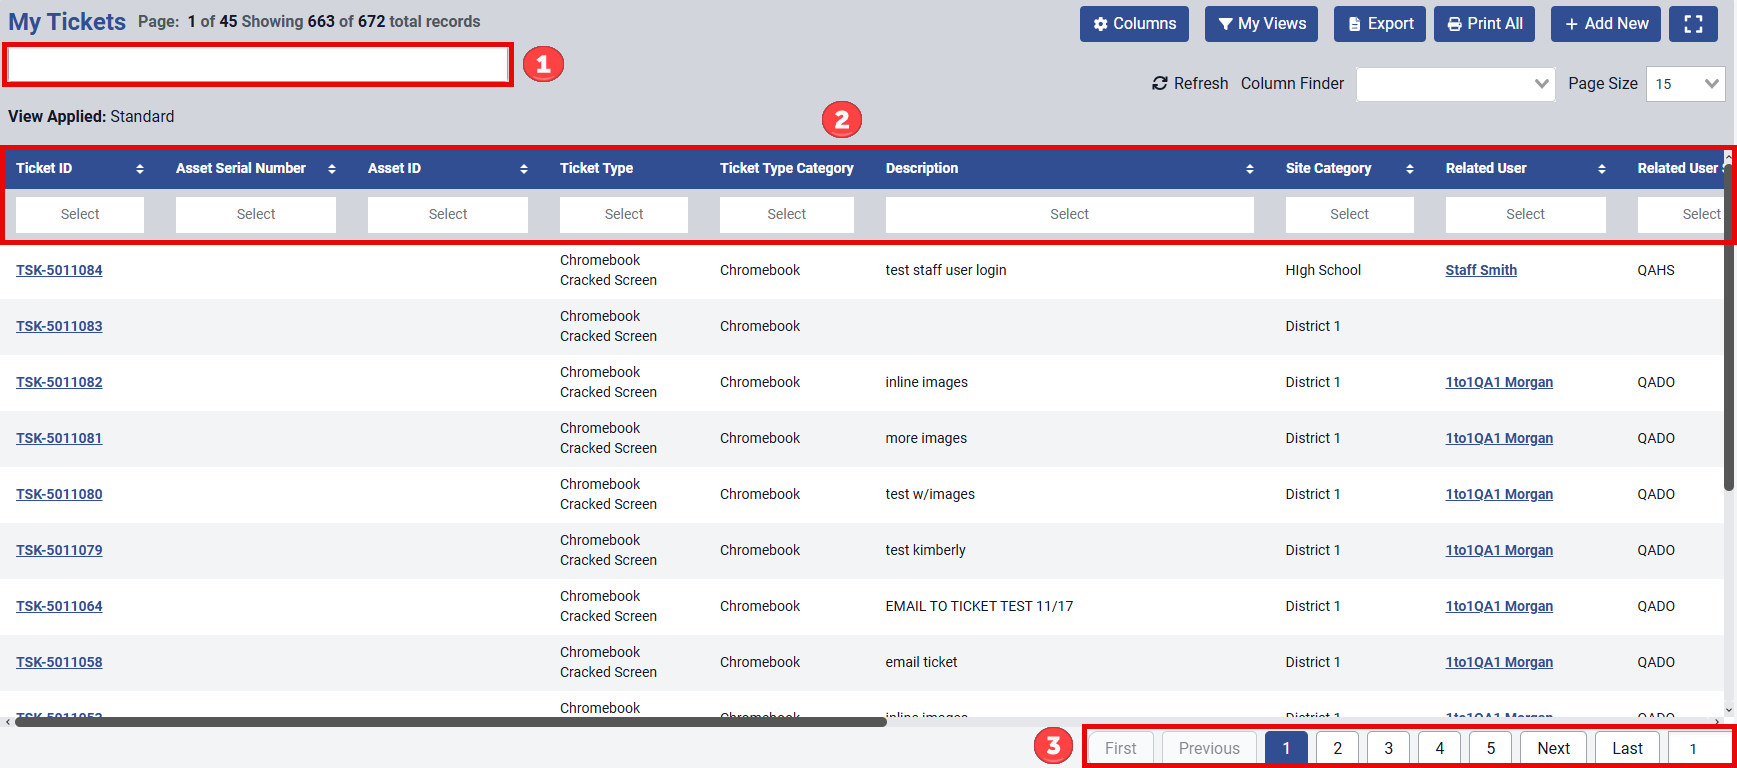
The My Tickets screen is where you can view all tickets assigned to you as a user. This screen will default to only showing the tickets assigned to the user that's logged in. Use the Search box to search for specific tickets. You can also customize the columns that show on the screen so that only relevant data to you is visible. You can export ticket files from this screen as well as add new tickets manually if you would like. Staff and Students can not close tickets.
Ticket Priority is color coded to make it easier to spot which tickets need to be addressed first and it is a sortable field with a filter also.

Each button's purpose/functionality is described below:
Columns: When you click the Columns button, it shows a drop down and you can choose which columns you want to appear on the screen. You can choose as many or as few columns as you like.
My Views: Gives the user the ability to create custom saved filters that they may run at any time to help filter through data quickly.
Export: Clicking the Export button exports the data with any filters you have applied. The export will show only the columns you have on the screen when you export it.
Print All: Clicking the Print all button allows you to print out ticket details. It will preview to the screen first to allow you to select the printer and pages that need to be printed.
Add: Clicking the Add button allows you to add a new ticket.
 Displays the manage screens in full-screen mode. Press Alt + F to toggle between full-screen and the standard view.

Search bar: The search bar allows you to type in a ticket's information, whether that be Asset ID, Serial #, Ticket Type, etc., and it will show any data that matches what you typed. It searches both Active and Inactive records. Enter must be pressed to start the search. You can only search information that shows up in the columns that are sortable which is indicated by the Up and Down arrows
 beside the column header.
Column Header/Filters: Any column that has the Up and Down arrows next to the name of the column can be sorted by that column. Some of the columns can be searched by free text and some by clicking in the box and it will give you a drop down of options to choose from(these are indicated by the word "Select" in the box. See below). The columns that show up in this section are affected by the columns that are selected when using the Columns button. Records on this page default to a Status of "Active".

Page Number: Indicates the page number you are currently on within the data selected and the page you are on is highlighted in Blue. You can click the page numbers individually or click the Next or Previous buttons to navigate between pages. The first page number and last page number will always show up on the page list to allow the user to jump to the beginning or the end of the data.
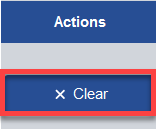
On the end of the Column Header row there is a Clear Filters button that will clear any filters currently set on the page.

The Add/Edit functions for tickets within the My Tickets menu operate the same way as the Add/Edit functions described in the Help Desk Manage Documentation.


