Manage Sites Screen
- 03 Dec 2025
- 1 Minute to read
- Contributors


- Print
- DarkLight
- PDF
Manage Sites Screen
- Updated on 03 Dec 2025
- 1 Minute to read
- Contributors
- Print
- DarkLight
- PDF
Article summary
Did you find this summary helpful?
Thank you for your feedback!
The Manage Sites screen allows you to view and add sites within your school district. The Site Name field is used throughout the software to identify where students, staff, and assets are assigned.
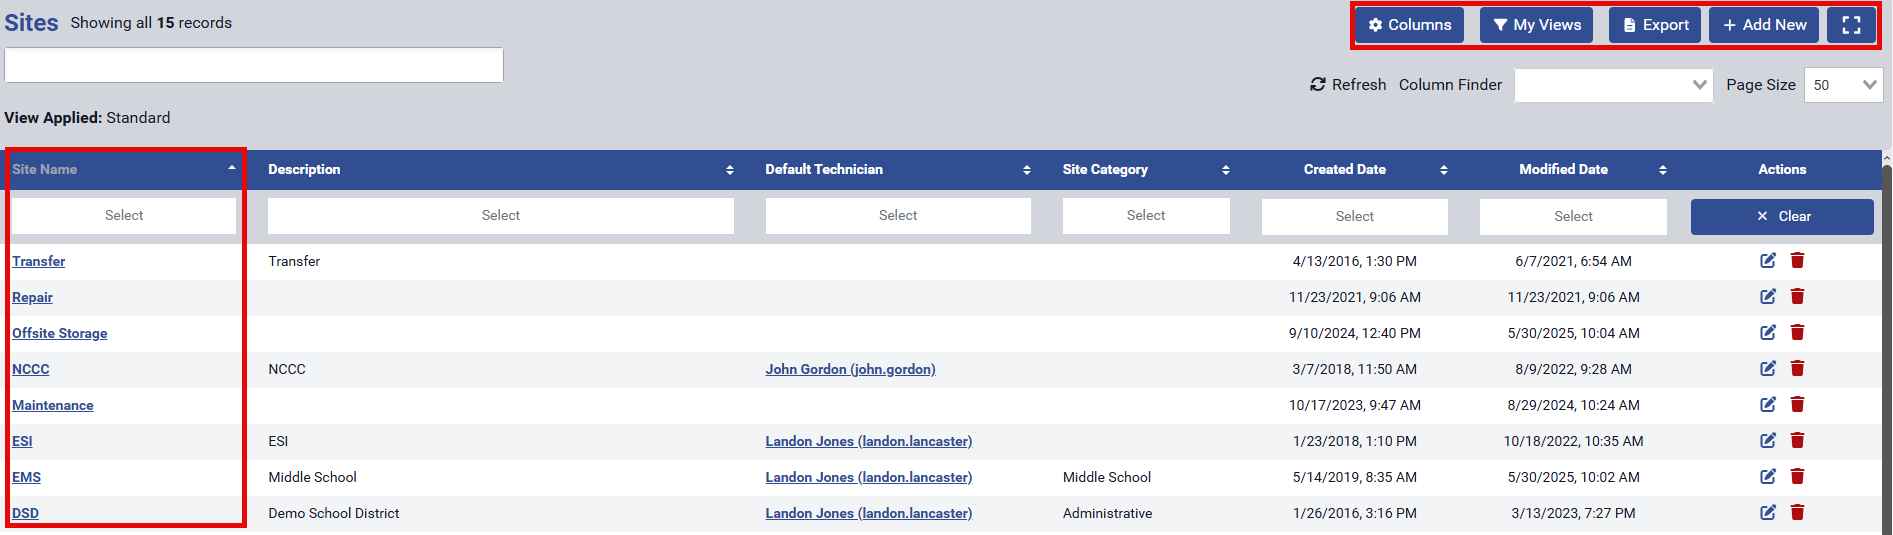
The Actions column includes icons for editing, deleting, or clearing filters. You can also edit or delete a site by clicking on its name to access the site details directly.
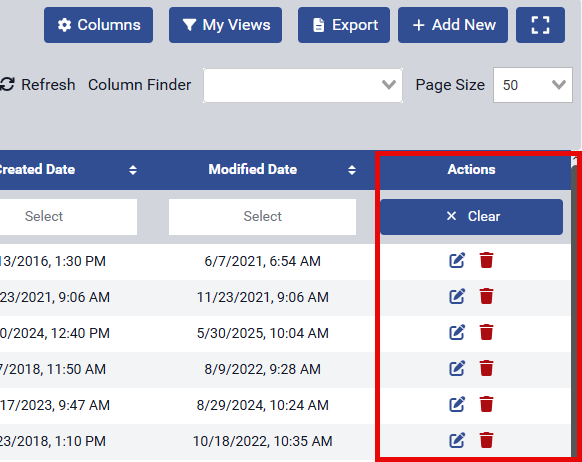
To export all sites to an Excel file, click the Export button. The file will download and appear at the top of your screen—simply click it to open.

To add a new site, click the Add New button. This will open the Add Site screen. Enter the site’s name in the Site Name field—this name will be used throughout the software to identify the site.
Other fields to be considered:
Description: Add a description of the site.
Site Category: You can add a Site Category to better organize sites—for example, Elementary School, High School, etc. This makes it easier to generate reports based on site groupings.
Site Admin: You can assign an Administrator for this site.
Default Tech: Assign a default technician to this site to automatically receive new tickets. This setting will be overridden if a default technician is specified on the Ticket Type.
SMTP Config: Select the appropriate email configuration for the site's email-to-ticket process.
Day User Approvers: Specify who has the authority to approve Day Users.
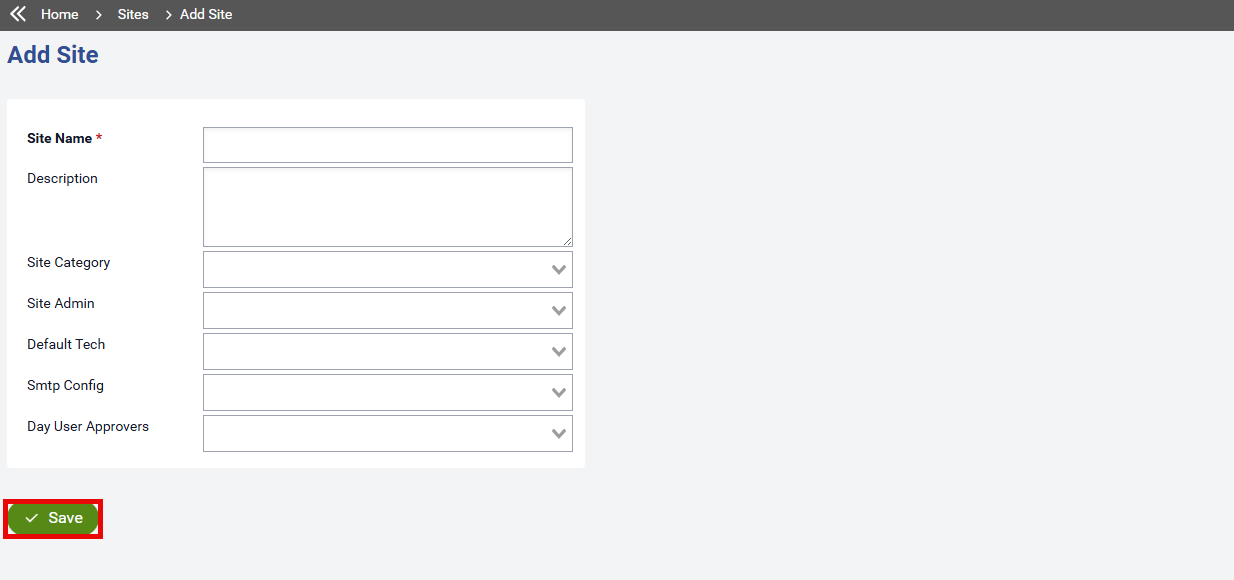
When you’re finished, click Save to return to the Sites screen..
After adding and saving a site, additional optional fields become available. These allow you to assign email groups that will be notified in specific scenarios. To access these settings, return to the site through the Edit Site screen.
Tickets Email Group: Notifies users in the selected group when a new ticket is created.
Student Changes Email Group: Notifies users in the selected group of new or inactive students.
Staff Changes Email Group: Notifies users in the selected group of new or inactive staff.
New Assets Email Group: Notifies users in the selected group when new assets are created at the site.
Frequent Offender Email Group: Notifies users in the selected group when a student has three or more tickets.
Daily Tickets Email Group: Sends a summary of daily tickets to the selected group.
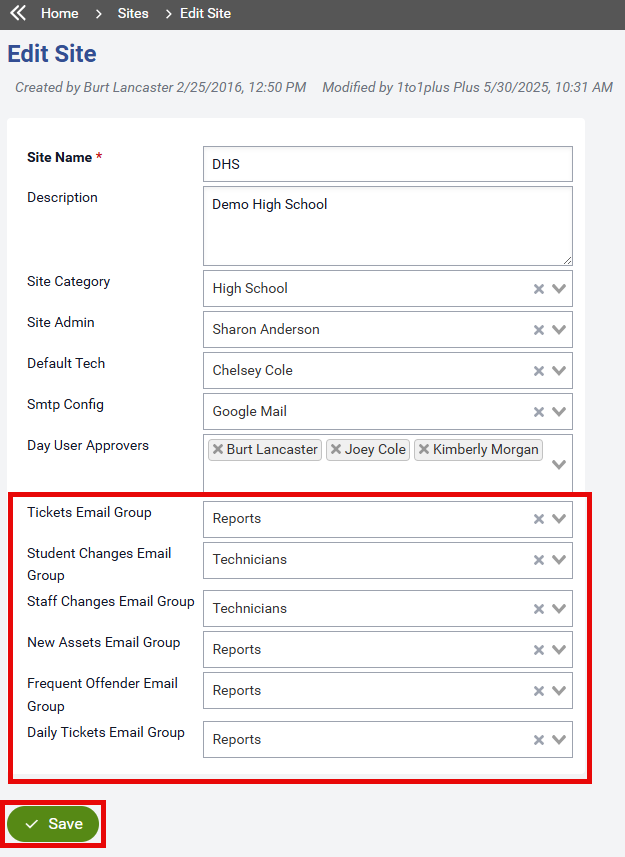
When finished, click Save and it should take you back to the Sites screen.
Was this article helpful?