Inventory Audits
- 18 Sep 2025
- 3 Minutes to read
- Contributors


- Print
- DarkLight
- PDF
Inventory Audits
- Updated on 18 Sep 2025
- 3 Minutes to read
- Contributors
- Print
- DarkLight
- PDF
Article summary
Did you find this summary helpful?
Thank you for your feedback!
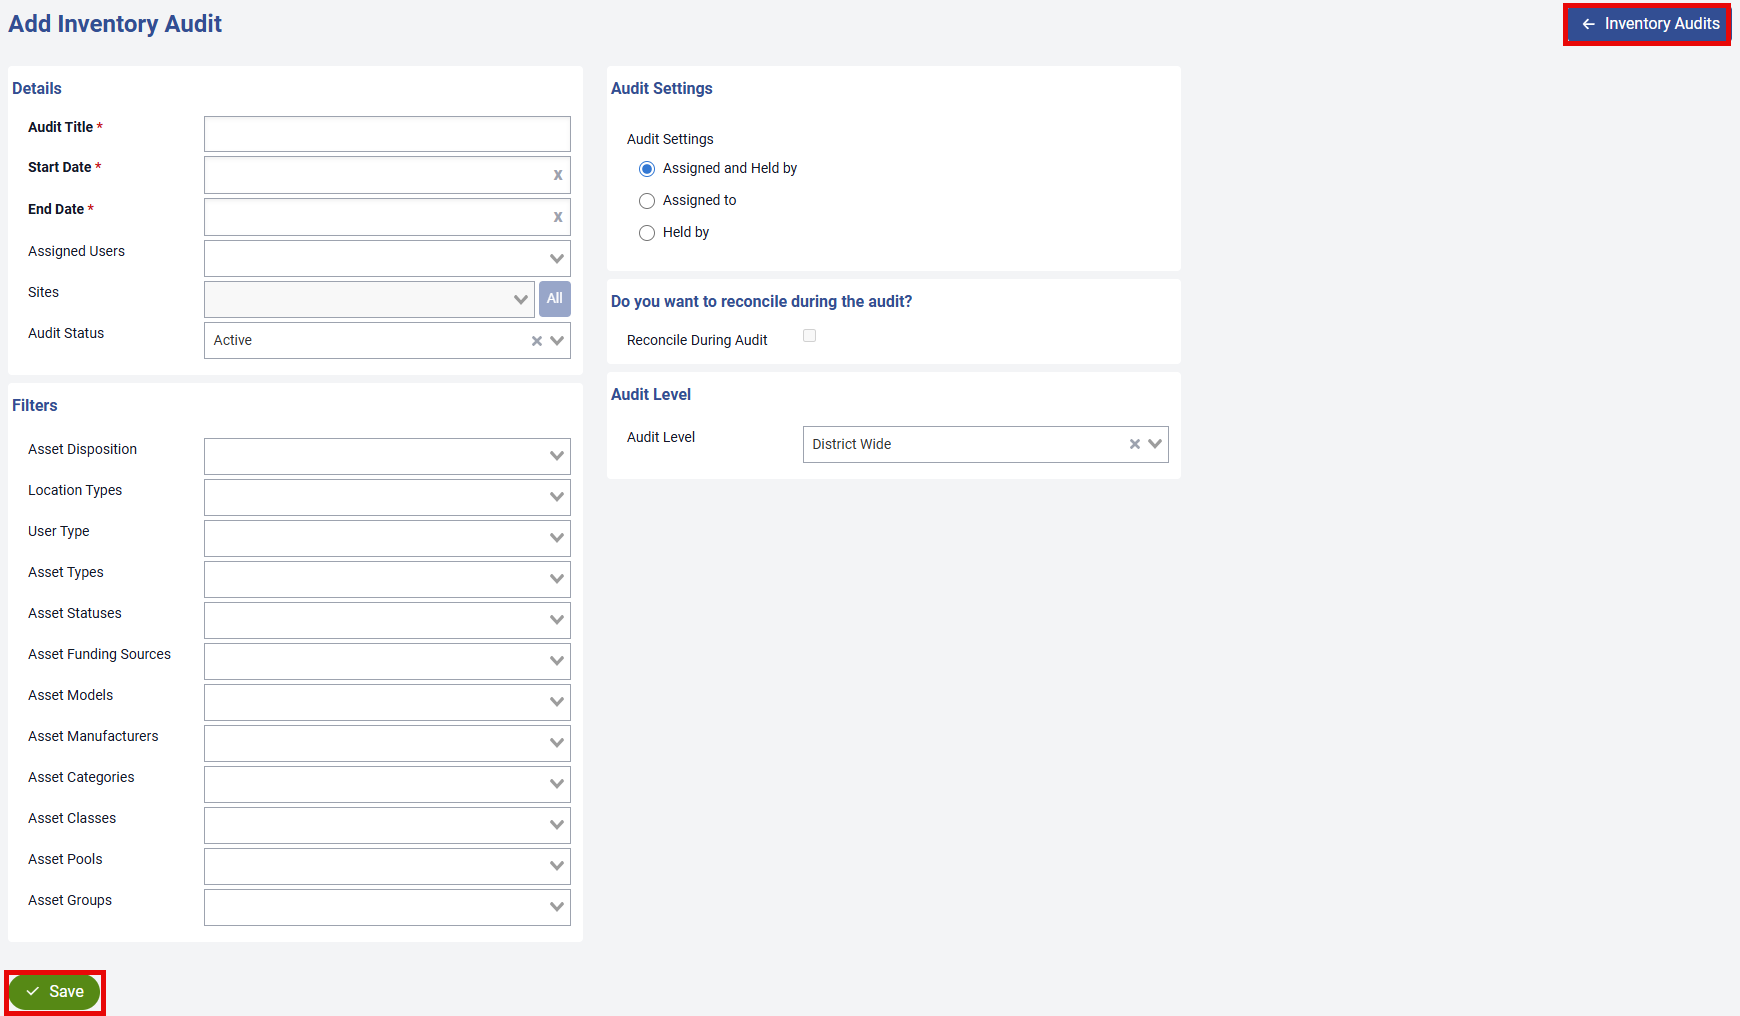
The Inventory Audits screen allows you to keep track of asset inventory and reconcile assets by Site and Location. To start, you will need to add an Audit if one hasn't already been created.
Click the ![]() button in the top right,
button in the top right,

Provide a Title, Start Date, End Date and select the applicable Sites—these are the only required fields. You can also add any additional information as needed. Use the Inventory Audits button in the top-right corner to return to the previous screen at any time. You have the option to reconcile assets as you scan or manually enter them. If the reconciliation flag is not selected, reconciliation will occur at the end of the audit.
After entering all the audit details, click the ![]() button to save your audit.
button to save your audit.

On the Inventory Audits screen, completed audits are marked with a green checkmark in the Completed column.
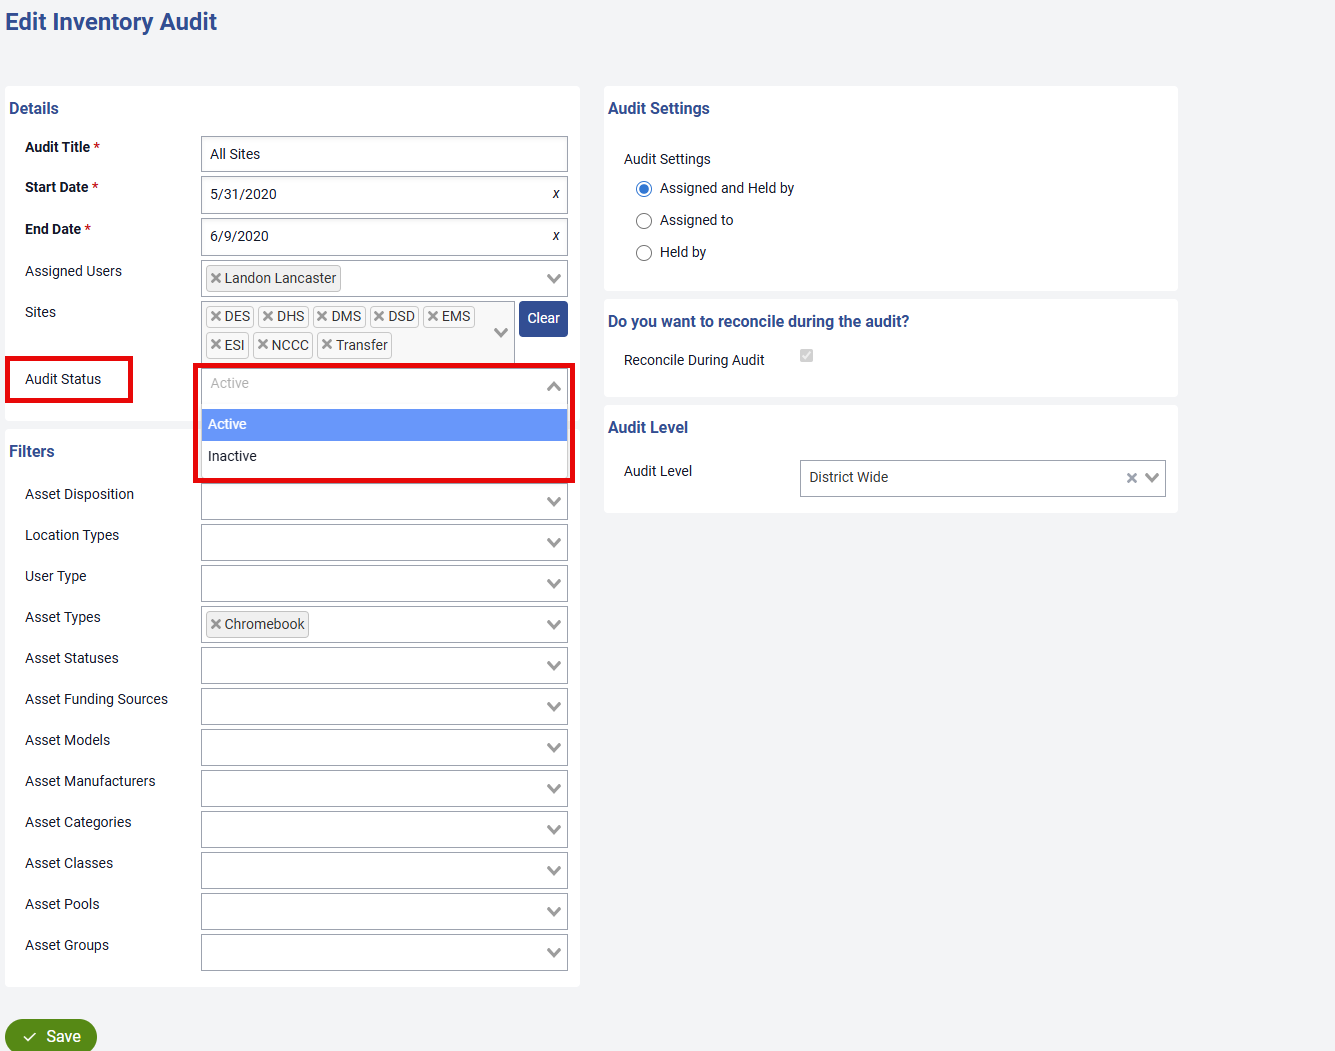
To manage your audits:
Set to Inactive: You can mark completed or unwanted audits as inactive by editing the audit and changing its status to Inactive.
Delete an Audit: Click the Trash Can icon in the Actions column.
Print Reconciliation Sheets: Click the Printer icon in the Actions column to print reconciliation sheets for the entire audit (see example below).
Edit Audit Details: To update information such as the start date, end date, or other details, click the Edit icon in the Actions column.
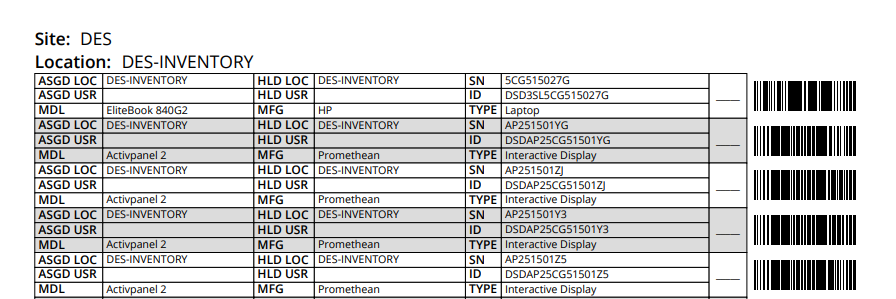
Sample Reconciliation sheet:
Once you've added your Audit, you can start the process of reconciling your assets.
Select the audit that you want to start reconciliation for by clicking the name of the audit under the Inventory Audit column.

This screen displays the Sites included in the audit. To print Reconciliation Sheets for a specific site, click the printer icon in the Actions column. If needed, you can return to the previous screen by clicking the Audits button in the top-right corner.
Clicking the values in the Total Assets, Reconciled, or Unreconciled columns will display a filtered view of those assets. However, please note that reconciliation cannot be performed from these filtered views.
Select a Site to begin reconciling assets.

This screen displays all Locations within the selected site. To Print Reconciliation Sheets for a specific location, click the printer icon in the Actions column. If needed, click the blue button in the top-right corner to return to the previous screen.
From here, select a Location to begin reconciling assets.

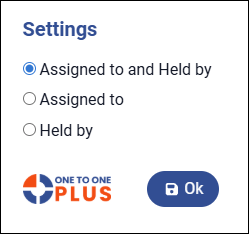
This brings you to the screen where you can reconcile assets. To customize how assets are reconciled, click the settings (cogwheel) icon next to the Scan or Enter Asset field. You can choose to reconcile based on:
Both Assigned To and Held By
Assigned To only
Held By only
The selected option will highlight the corresponding column in Orange, indicating which value reconciliation will be compared against.
To return to the previous screen, click the button in the top-right corner displaying the name of the selected Site.
Click the Export button to download an Excel CSV file containing the assets listed on this screen.
To reconcile assets, either Scan the barcodes or enter either the Asset ID or Serial Number in the designated box and it will remove that asset from this list since it's been reconciled.

When scanning or entering the Asset ID or Serial Number, there are 3 possible outcomes:
You will get a Green message indicating when an asset has been successfully reconciled

You will get a Yellow message indicating that the asset was reconciled but there is an issue that needs attention

You will get a Red message indicating that the asset doesn't exist in the software

Once you’ve finished reconciling all assets for the selected Site/Location, you’ll have the opportunity to review and address any issues identified during the reconciliation process.
Return to the Locations screen and check the Reconciliation Issues column to see if any issues remain. You can click the number shown in that column to view a detailed list of outstanding issues.

This takes you to the Reconciliation Issues screen for the selected location, where all identified issues are listed. Each issue will display an error message in the Errors column. To correct an issue, check the box next to the corresponding item on the left, then click the blue ![]() button at the top of the screen.
button at the top of the screen.

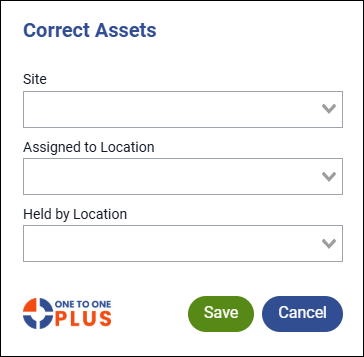
The Correct Assets dialog box will appear, allowing you to update the Site, Assigned To, or Held By locations as needed. After selecting the correct values, click the ![]() button to resolve the reconciliation issue.
button to resolve the reconciliation issue.
To track your progress in the reconciliation process, refer to the Locations screen. Each location will display one of the following indicators:
 Green check mark – All assets have been reconciled with no outstanding issues.
 Red check mark – All assets have been reconciled, but some issues still need to be resolved.
⬜ No check mark – There are still assets that need to be reconciled for this location.
The reconciliation process is complete when all Locations and Sites display a green check mark.

Was this article helpful?