Inventory Audit Status
- 12 Dec 2025
- 3 Minutes to read
- Contributors


- Print
- DarkLight
- PDF
Inventory Audit Status
- Updated on 12 Dec 2025
- 3 Minutes to read
- Contributors
- Print
- DarkLight
- PDF
Article summary
Did you find this summary helpful?
Thank you for your feedback!
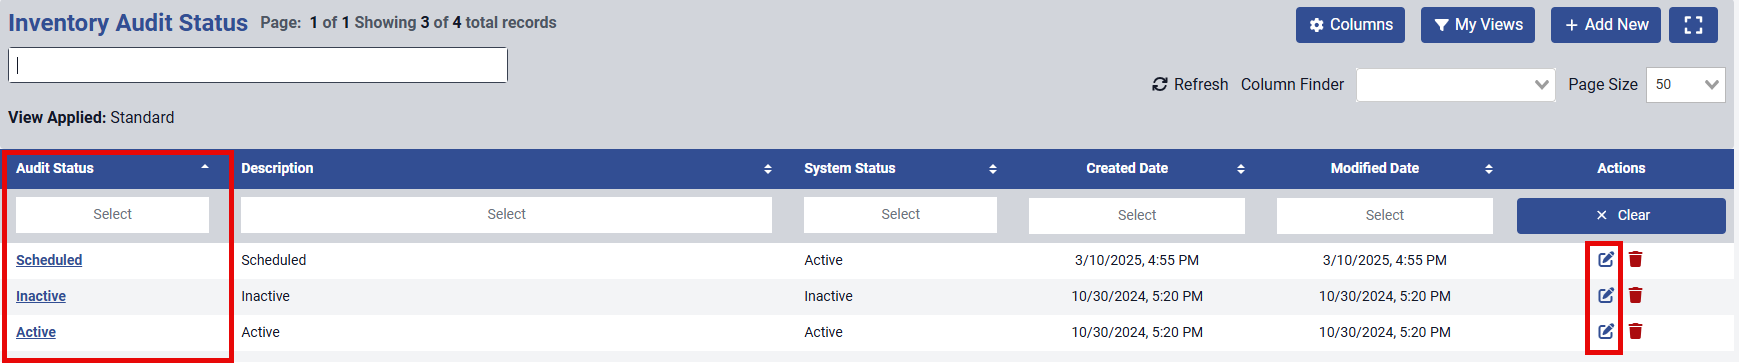
To access the Inventory Audit Status screen go to Settings > Assets > Inventory Audit Status.

The Inventory Audit Status screen is where you can view existing Audit status’ or add new ones. You can view all status’ or add filters to see just the status’ you want. Use the Search box to search for specific status’. You can also customize the columns that show on the screen so that only relevant data to you is visible.

Each button's purpose/functionality is described below:
Columns: When you click the Columns button, it shows a drop down and you can choose which columns you want to appear on the screen. You can choose as many or as few columns as you like.
My Views: Clicking the My Views button allows user to turn on or off the individual column to filter your data by. It also gives the user the ability to create custom saved filters that they may run at any time to help filter through data quickly.
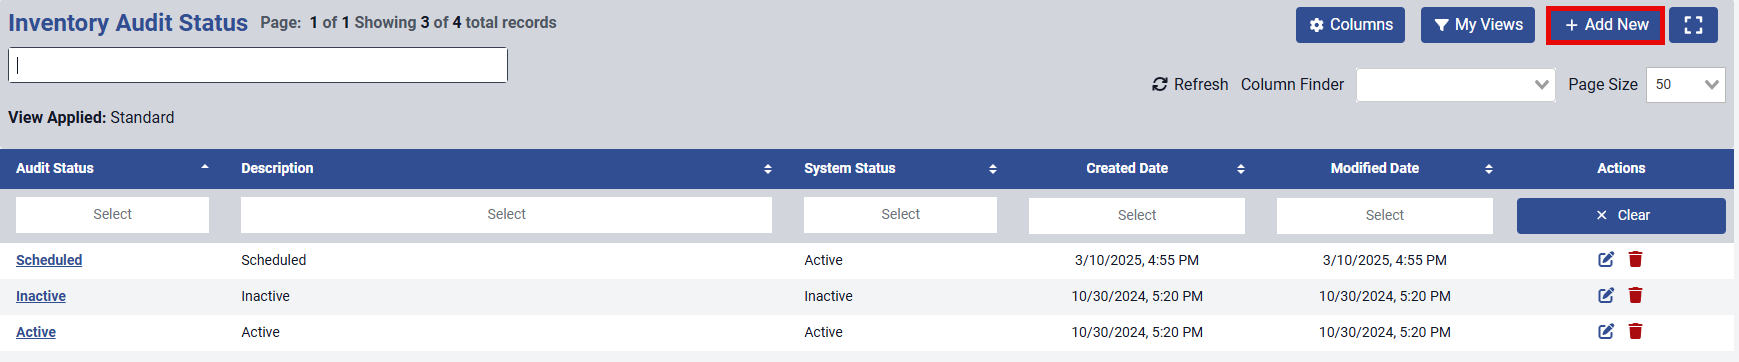
Add New: Clicking the Add New button allows you to add a new inventory audit status.
 Displays the manage screens in full-screen mode. Press Alt + F to toggle between full-screen and the standard view.
The Inventory Audit Status page will automatically default an Active and Inactive status. Additional status can be added based on client needs.
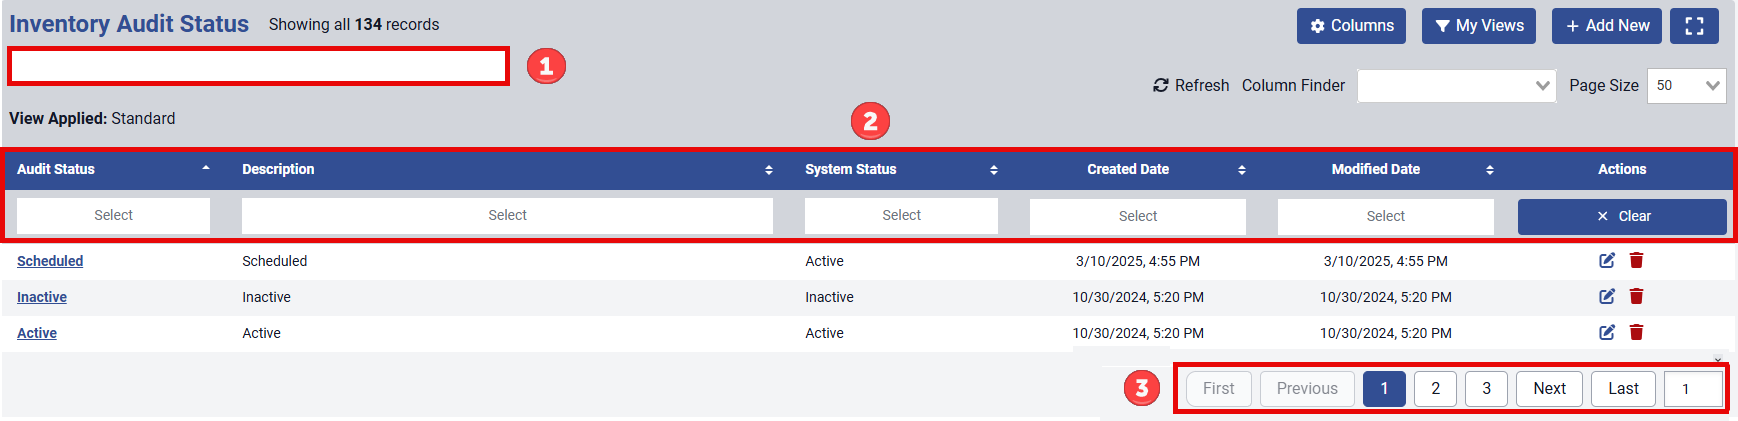
Search bar: The search bar allows you to type in the inventory audit status information, whether that be Audit Status, Description, etc., and it will show any data that matches what you typed. Enter must be pressed to start the search. You can only search information that shows up in the columns that are sortable which is indicated by the Up and Down arrows
 beside the column header.
Column Header/Filters: Any column that has the Up and Down arrows next to the name of the column can be sorted by that column. Some of the columns can be searched by free text and some by clicking in the box and it will give you a drop down of options to choose from(these are indicated by the word "Select" in the box. See below). The columns that show up in this section are affected by the columns that are selected when using the Columns button.

Page Number: Indicates the page number you are currently on within the data selected and the page you are on is highlighted in Blue. You can click the page numbers individually or click the Next or Previous buttons to navigate between pages. The first page number and last page number will always show up on the page list to allow the user to jump to the beginning or the end of the data.
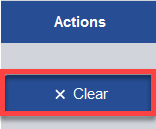
On the end of the Column Header row there is a Clear Filters button that will clear any filters currently set on the page.
To add a new Inventory Audit Status, just click the ![]() button at the top right.
button at the top right.
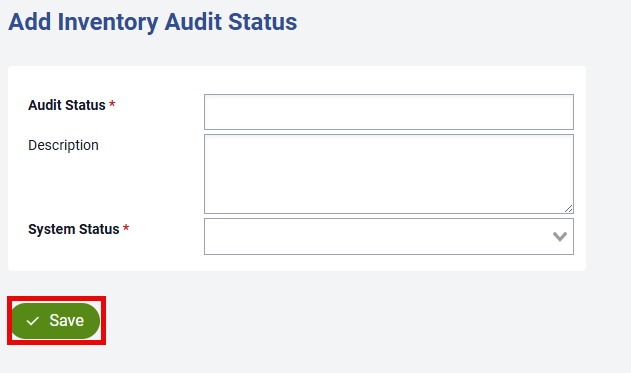
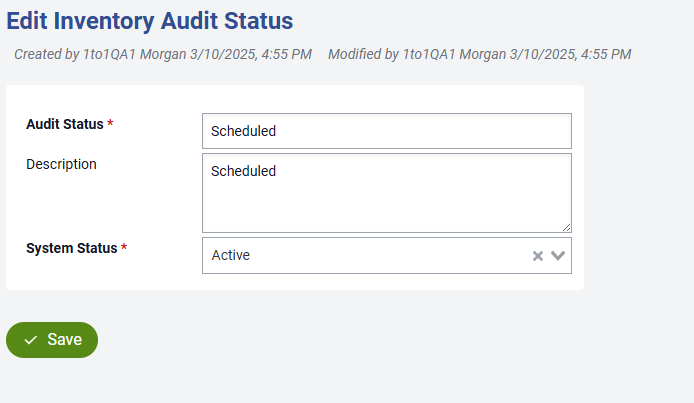
Then enter the Inventory Audit Status you’d like to add such as Active, Inactive, etc., and include a description if needed. Select a System Status from the drop down. The System Status field is a required field indicated by the red asterisk (*). Once you've added your information click the ![]() button—located at the top right or bottom left of the page—to ensure all data is saved.
button—located at the top right or bottom left of the page—to ensure all data is saved.
To edit an inventory audit status record, select a record by either clicking the inventory audit status name hyperlink or by clicking the edit icon located under the Actions column on the far right.
You can now change the information in the Inventory Audit Status record. Once you have made your changes, click the ![]() button—located at the top right or bottom left of the page—to ensure all data is saved.
button—located at the top right or bottom left of the page—to ensure all data is saved.
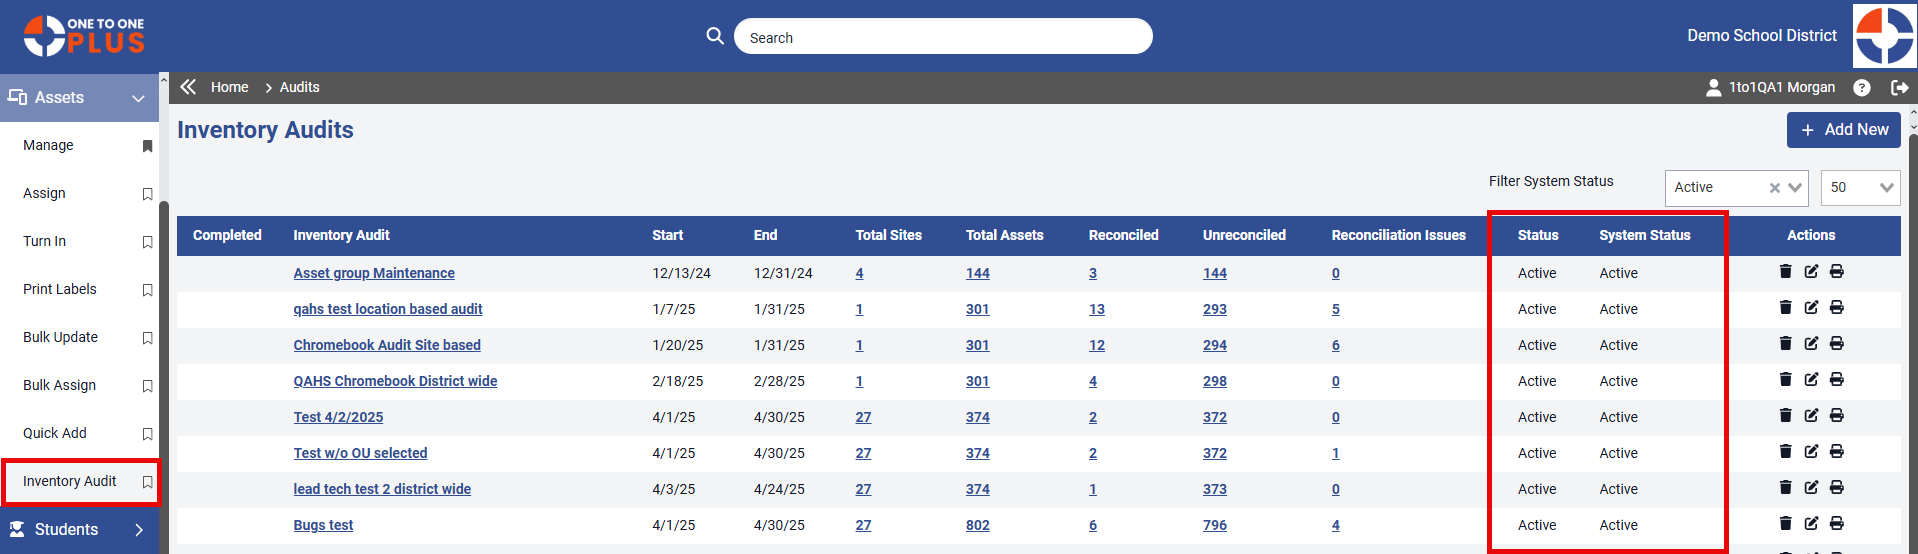
The status will appear on the Inventory Audit manage page and also can be seen on the Edit Inventory Audit page.
Was this article helpful?