Custom Reports
- 03 Dec 2025
- 1 Minute to read
- Contributors

- Print
- DarkLight
- PDF
Custom Reports
- Updated on 03 Dec 2025
- 1 Minute to read
- Contributors
- Print
- DarkLight
- PDF
Article summary
Did you find this summary helpful?
Thank you for your feedback!
actiiCustom Reports allow you to display exactly the fields you want in a report.
Start by clicking the Custom Reports tab, then click the ![]() button in the top right.
button in the top right.

(The icons in the Actions column allow you to Generate a CSV file, preview, edit, or delete a report, provided it has been saved and appears on this screen.)
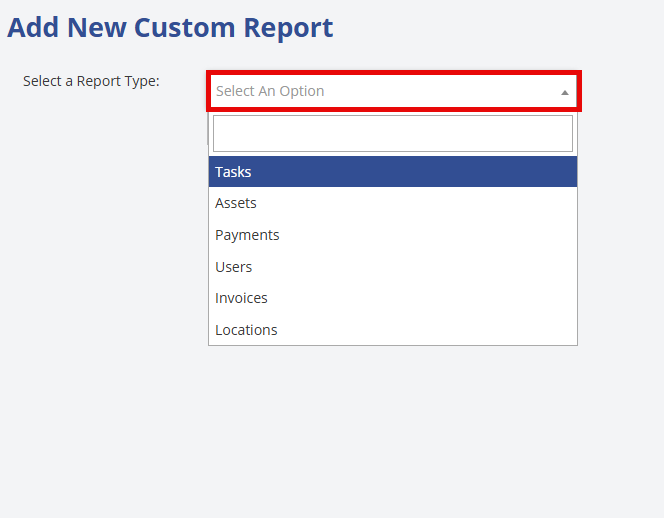
Click the drop-down menu and select the type of report you want to generate.
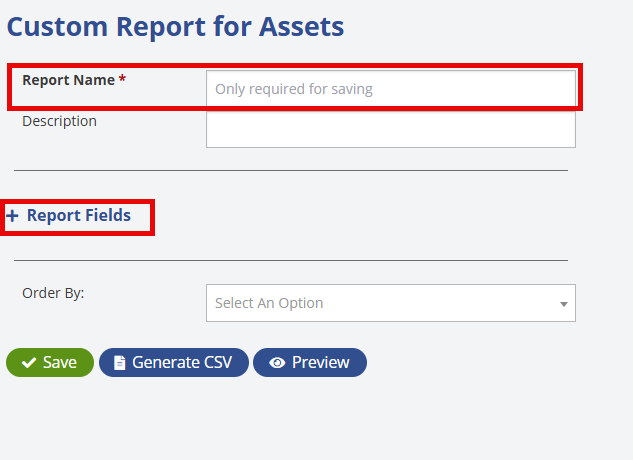
From here, you may enter a Report Name to save the report for later use. If the report will only be generated once, a name is not necessary.
Click the Report Fields drop down to expand it.
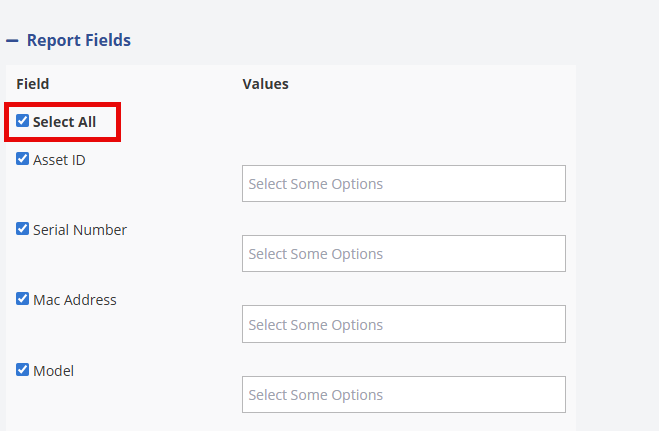
Here, you can choose which fields to include in the report. Use the Select All checkbox to quickly enable or disable all fields, or individually select only the fields you need. To filter the data, choose the desired options in the Values column for each field—this lets you narrow the results as much as you like or leave the filters open to display everything.
Any field labeled “Select Some Options” will display a list of available choices when you click it. Some of these options come from system lookups, such as Model, Asset Type, and others. You can also use the date fields to narrow your results to a specific date range if needed.
Once you've chosen the fields for the report, scroll to the bottom of the page and click the Order By drop down to choose how you want to sort the report.

If you added a Report Name at the top, you can click the ![]() button to save the report to be able to access from the custom reports menu to run again later.
button to save the report to be able to access from the custom reports menu to run again later.
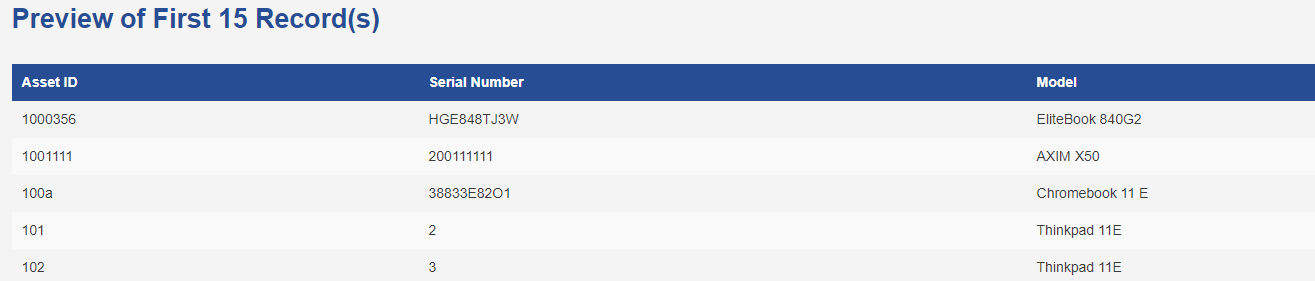
Click the ![]() button and it will open a new tab in your browser and show you the first 15 records in that data set for that report. Use this option to preview the report and confirm it looks the way you want before generating the file.
button and it will open a new tab in your browser and show you the first 15 records in that data set for that report. Use this option to preview the report and confirm it looks the way you want before generating the file.
Click the ![]() button to generate a excel file for the report. Select the Excel file at the top of the screen to open it.
button to generate a excel file for the report. Select the Excel file at the top of the screen to open it.

Was this article helpful?