Assigning Assets using a Barcode Template
- 18 Aug 2025
- 1 Minute to read
- Contributors


- Print
- DarkLight
- PDF
Assigning Assets using a Barcode Template
- Updated on 18 Aug 2025
- 1 Minute to read
- Contributors
- Print
- DarkLight
- PDF
Article summary
Did you find this summary helpful?
Thank you for your feedback!
The Assign screen is used to assign a single asset or multiple assets to either a student, staff, or location. The screen is optimized for use with barcode scanners which streamlines the assignment process.
Barcode Templates enable quick and efficient scanning, allowing users to assign assets without needing to switch between the scanner and mouse. These templates include barcodes that determine whether assets are assigned using both the Held By and Assigned To fields, or just the Held By field. When scanning a barcode, the system is designed to automatically tab to the next field. If your scanner does not do this by default, you can use the provided Tab barcode on the template to manually move to the next field. After scanning the Held By and Assigned To barcodes, the system will automatically submit the assignment—eliminating the need to manually click the  button.
Note: For best results, print Barcode Templates using a laser printer.
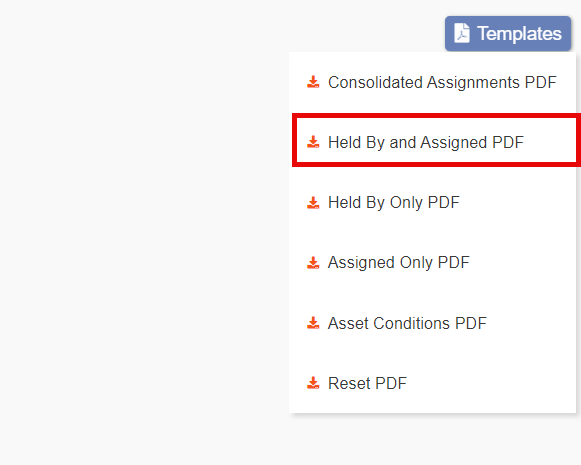
To access Barcode Templates, click the Templates button located in the upper-right corner of the Assign screen.

The Templates button will display a dropdown list of barcode template options to choose from. In most cases, when assigning assets, you'll want to use the "Held By and Assigned To" PDF template.
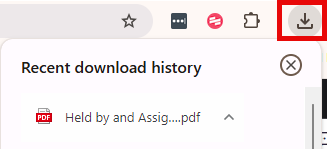
After selecting your desired template, the download will begin automatically and appear in the top-right corner of your screen. Once opened, you can print the template directly from the file..
When using the Barcode Template to assign assets, follow these steps:
Scan or enter the User ID or Location.
Scan the Asset barcode.
Scan the Held By and Assigned To barcodes.
Once you've scanned the 'Held By' and 'Assigned To' barcodes, the assignment will be submitted automatically, allowing you to proceed to the next one seamlessly.
Was this article helpful?