Assigning a Single Asset
- 20 Nov 2025
- 1 Minute to read
- Contributors


- Print
- DarkLight
- PDF
Assigning a Single Asset
- Updated on 20 Nov 2025
- 1 Minute to read
- Contributors
- Print
- DarkLight
- PDF
Article summary
Did you find this summary helpful?
Thank you for your feedback!
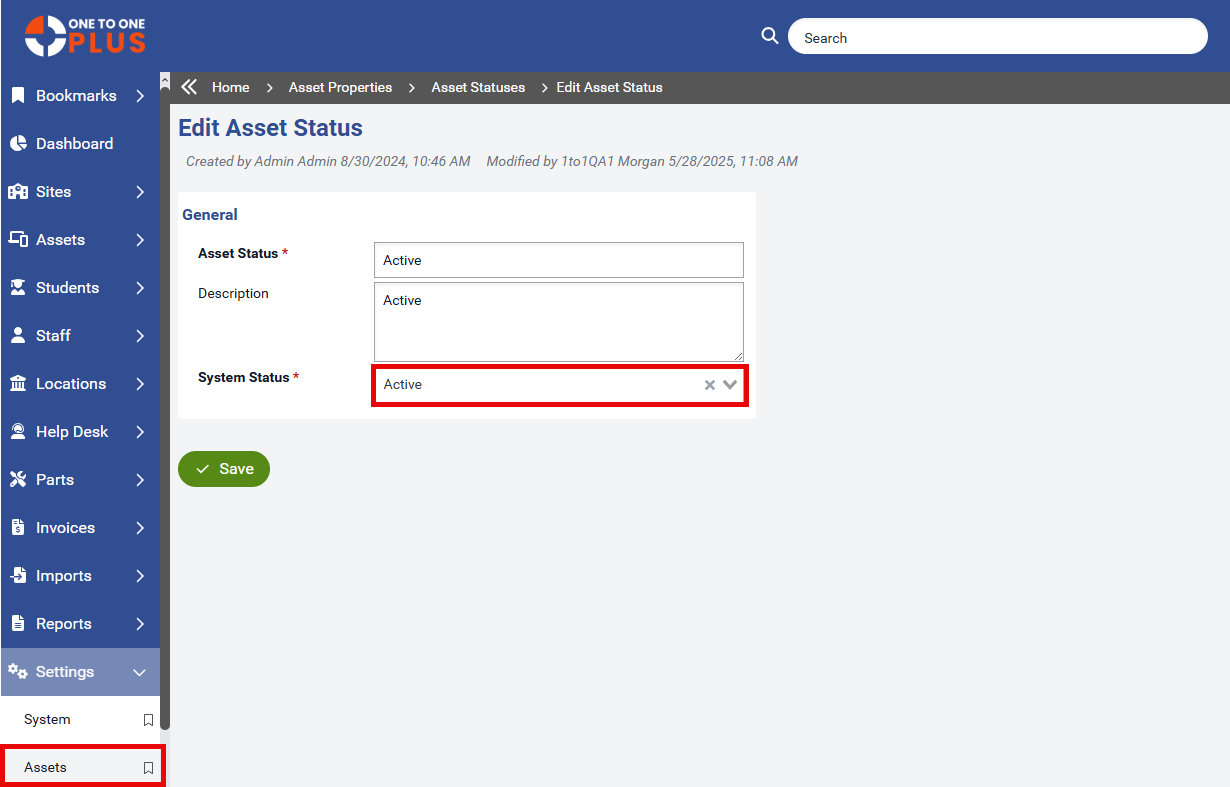
The Assign screen allows users to assign one or more assets to a student, staff member, or location. Designed for efficient use with barcode scanners, it streamlines the asset assignment process. Before completing an assignment, the screen checks the asset's system status, as configured in Settings > Assets > Status. If the status is not set to "Active," a message will be displayed to alert the user.
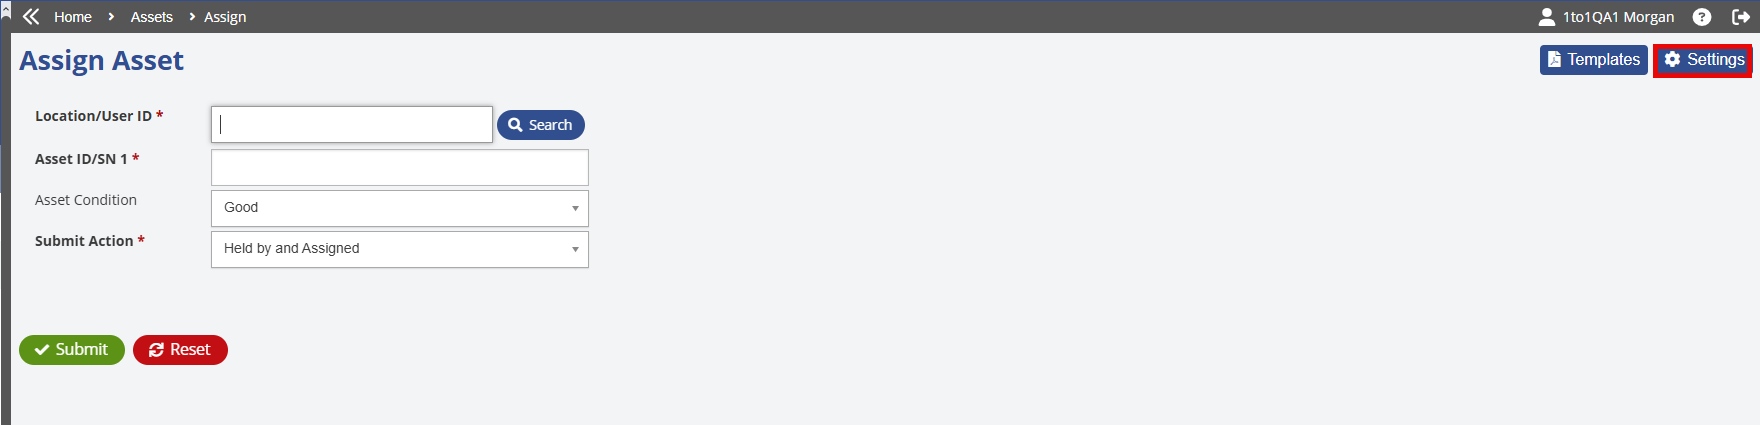
From this point, you can begin assigning your assets.
Scan or enter the Location or User ID in the Location/User ID field. If the User ID is unknown, use the Search box to look up the user by name.
Scan or enter the Asset ID or Serial Number into the Asset ID/SN field.
Enter Asset Condition if it is set to Yes in the Asset Settings Screen.
Click the
 button to complete the asset assignment. If you need to start over or correct any entries, click the
  button to clear all previously entered information.
The default settings for the Assign Asset and Turn in Asset screen can be accessed by clicking the  button in the top right corner of the Assign Asset screen or Settings > Assets > Asset Settings screen.
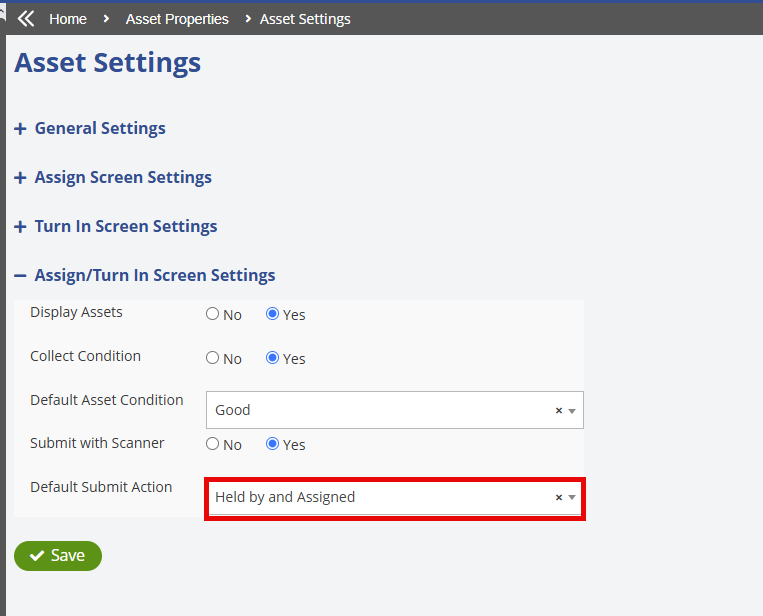
Set Display Assets to Yes to instruct the system to display asset information on the assignment screen.
Set Collect Condition to Yes, to enable the condition of the asset to be entered at the time of assignment.
If the Collect Condition field is set to Yes, you can choose a Default Asset Condition for the assigned devices. (The condition can be changed at time of device assignment. )
Set Submit with Scanner to Yes to submit asset assignments using the scanner.
Default Submit Action field is set to Held by and Assigned by default. Removing the student information from the device assignment. If a student's device is collected at the end of the school year and will be reassigned to the same student in the fall, you can update the Default Submit Action to Held by to indicate that the device is held in school inventory over the summer. It can then be reassigned to the same student at the start of the new school year in the Fall.
If you have made any changes to the Assign/Turn In Screen Settings, be sure to click ![]() to save the new updated information.
to save the new updated information.
Was this article helpful?